We have all experienced that heart-sinking moment when you discover an oil mark on your carpet. It doesn’t matter whether it happened during a gathering or just a quiet evening at home. The good news is that getting rid of these grease spots is actually simpler than you’d think.
You don’t need expensive products or fancy tools. With some common household items and the right technique, you can handle these marks, saving time and cash.
So, let’s explore some of these practical, budget-friendly hacks.
Identify the Source
Whether it’s cooking oil from the kitchen or butter from a late-night snack, knowing where the mark came from will help you pick the right treatment.
Don’t know where to start? Don’t worry. You can figure out what caused the stain just by how it looks. Cooking oils cause dark circular patches, butter leaves lighter, smooth marks, and animal-based fats have a distinctive yellow tinge.
While you’re at it, check the texture as well. Fresh oils are slick while solid fats create a waxy surface.
Once you’ve pinned down the culprit, you’ll know what cleaner to grab. For example, dish soap is great for removing vegetable oils and butter marks. For natural fats like lard or tallow, use an enzyme cleaner to break down the proteins and fats quickly.
Don’t forget to keep track of what works as well. Whether it’s a note on your phone or one scribbled on the back of a cleaning product, knowing which combo tackled the stain can save you loads of guesswork next time.
Blot, Never Rub
Start by grabbing a white cloth or paper towel and get ready for some satisfying stain removal. Whatever you do, don’t scrub. We know it seems like a time-saver, but aggressive rubbing will just push the grease deeper into the fibres.
Instead, press down firmly and blot the stain. Each time you dab the surface, you’ll pull those oils up and away from the fabric.
As you blot, rotate your towel to use a fresh section after each press. When dealing with bigger spills, work from the edges toward the centre to avoid spreading the mark.
Speaking of smart hacks, if you can lift or fold your carpet, place another towel underneath. As you blot, the grease will transfer onto both towels.
Use a Baking Soda Pre-Treatment
Now that you’ve removed the excess oil, let’s bring in sodium bicarbonate, everyone’s favourite cleaning powerhouse! Yes, among its many uses, it’s also an excellent natural degreaser that removes oils directly from fibres.
To make the most out of this treatment, start by covering the entire area with a thick, even layer and let it sit for 15-20 minutes. As it works its magic, you’ll actually see the powder begin to clump as it absorbs the grease.
Next, use a soft-bristled brush to gently work the baking soda deeper into the fabric. For the best results, move the brush in different directions to help it reach all those tiny spaces between the fibres. Just remember to keep your touch light. We don’t want to flatten the fibres.
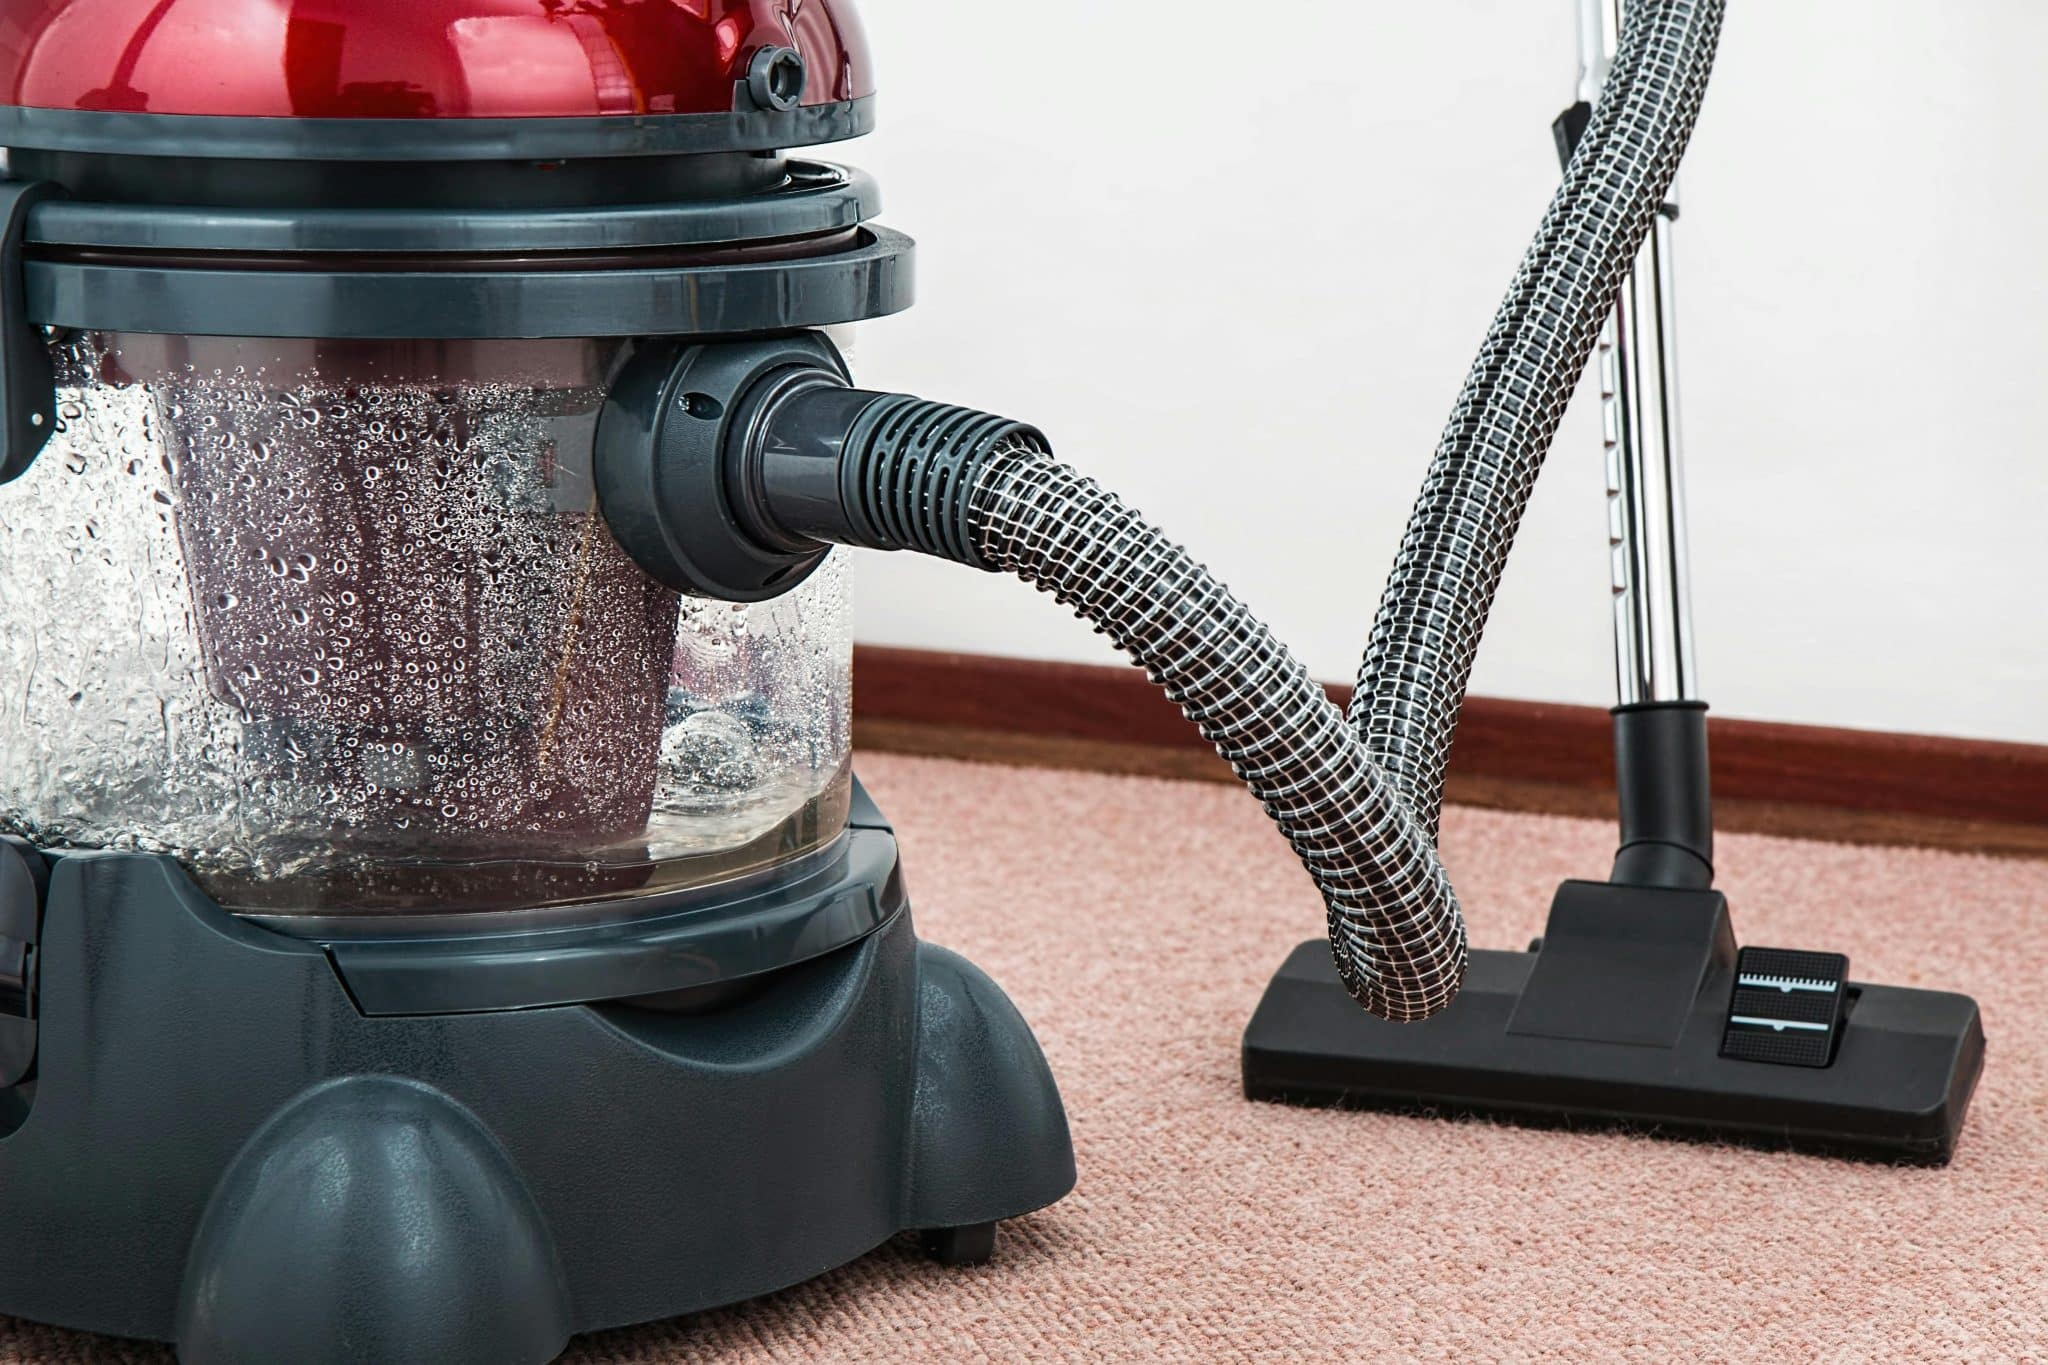
Once you’re done, vacuum the area well, making several passes to collect all the powder. If you still see traces of the stain, don’t worry. A second round often does the trick, and since this staple doesn’t cost much, you can reapply the treatment as many times as you need.
Create a DIY Solution
Let’s whip up a strong homemade solution that rivals those store-bought cleaners. The best part is that you have everything you need in your kitchen.
So, grab a bowl and mix:
- 2 cups of warm water;
- 1 tablespoon of vinegar;
- 1 tablespoon of dish soap.
You don’t have to put on your lab coat and measure things too precisely. You can eyeball the ingredients, but just keep the mix balanced, so it doesn’t end up being too soapy.
The dish soap will tackle the grease while the vinegar will remove any residue and neutralise smells. This way, you won’t need to splurge on a carpet odour remover.
Before you dive in, test your mix on a hidden spot, like one that’s covered by furniture. Give it about 5 minutes and check for any colour changes or damage. Once you’re sure it’s safe, dip a towel in your solution, but don’t soak it. You want it to be damp, not dripping.
Now, use the same blotting technique we’ve explained. Work from the outside edges toward the centre, and don’t scrub. Finally, give the solution 10-15 minutes to work its magic.
Rinse and Dry
You’re almost there, but don’t let all of your hard work go to waste by skipping this final step.
Before calling your friends and telling them about your genius stain-busting techniques, remove all the remaining residue with fresh water. Soap residue might seem harmless, but it’s basically a welcome mat for future grime.
Use a clean, damp cloth to wipe the surface, taking care not to oversaturate the fabric. Then, grab a dry towel and blot up as much moisture as you can, keeping your touch light to protect the fibres.
To help things dry faster, open the windows on opposite sides of the room for cross-breeze or set up a fan to keep the air moving.
We recommend doing this on a warm day. However, if this isn’t on the cards, running your ceiling fan or a portable heater will speed things up.
It might be tempting to put everything back in place straight away, but it’s best to wait 6–8 hours for the area to dry completely. Walking on a damp carpet or replacing furniture too early can flatten fibres or even cause mould.
Stain-Proof Your Space
Congratulations! The stain is gone and your carpet is safe, but you definitely don’t want an encore. The best way to keep your floors looking fresh is to stop messes before they happen. Luckily, it doesn’t take much time or money to do this.
Add a few tablecloths and placemats in your dining room to catch spills before they hit your floors.
You can also buy washable area rugs or runners for living rooms or other spaces where people frequently eat and drink. Compared to wall-to-wall carpeting, they are far easier to clean.
You should store paper towels, white cloths, a carpet odour remover, and your favourite solution within reach. This way, when accidents happen, you won’t have to dig through your cupboards to find what you need.
Getting everyone in your household on board will make a world of difference as well. So, make it fun for your kids by turning cleaning into a race against time.
Finally, think of professional cleaning as routine maintenance, not a last resort. Even if you’re on top of things, your rugs will occasionally need deep treatments or a specialised carpet odor remover that only these services have access to.
Conclusion
You’ve dealt with the grease and come out on top, so give yourself a high-five!
You have the tools and tricks to handle whatever lands on your carpet next. Unless, of course, you eat nachos on the couch again. Then, all bets are off.