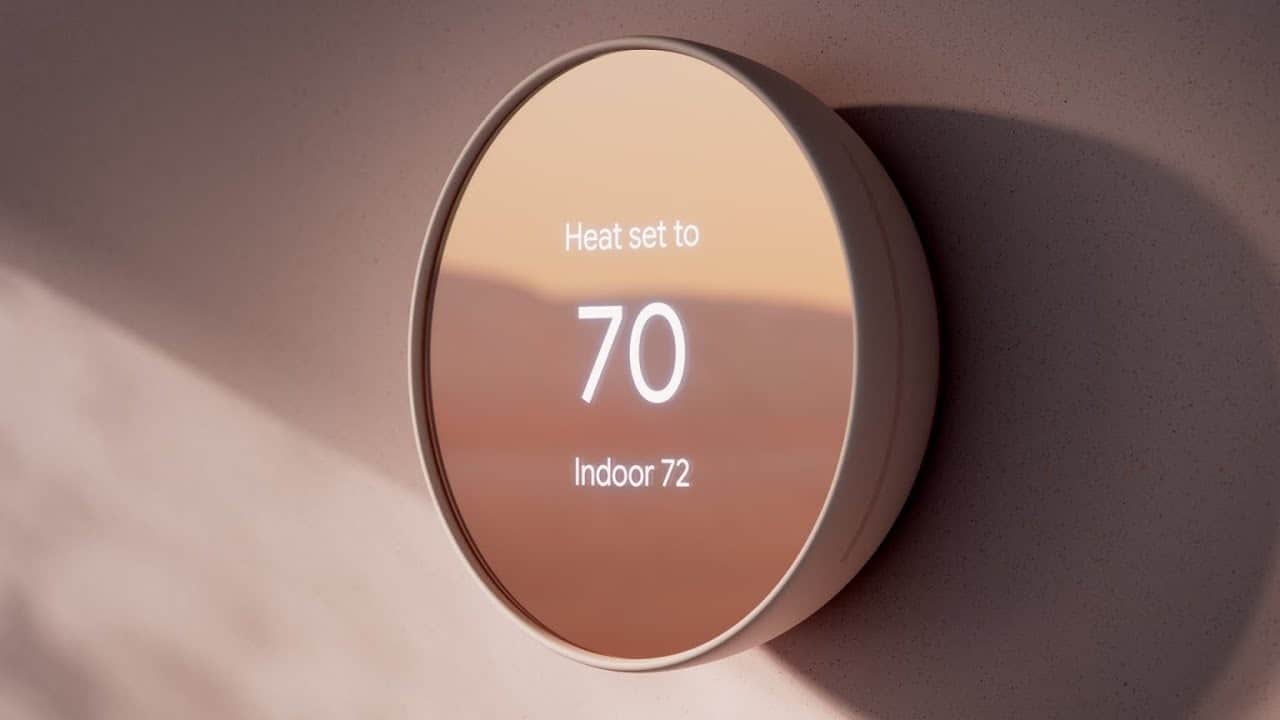
The Nest thermostat is a handy device to control your HVAC system from phone applications. In addition to temperature control, the app will help you get insights into air quality and conditioning.
Just like others of its kind, the Nest thermostat has a built-in battery. Rh or Rc wires from your home’s HVAC connect directly to a C-wire, complete the circuit and charge the battery. Many times, a Nest thermostat won’t charge because of issues in the conduit.
As the thermostat charges with HVAC, the closure of the system down won’t hamper the thermostat’s performance for a lengthy period.
The battery helps the device sustain even during power cuts and failures and thus, keeps the device in sync with its screen, Wi-Fi, and other features.
What Does a Low Battery on The Thermostat Mean?
Do you see a message indicating a low battery on the screen? It shows high time to charge your device. Use a USB cable and use it right away to avoid unresponsive display screens, unregulated heating and cooling and, the block to Wi-Fi connectivity.
However, you need to figure out why wasn’t the device self-charging in connection with the HVAC? Why isn’t the thermostat charging?
Identify the Problem
Do not panic if your Nest thermostat won’t charge and, stay calm to find out the possible problems. Check whether the device is connected correctly at the base, and if not, ensure a proper connection.
Check the C-Wire
For the Nest thermostat to have no problems with its charging, a good c-wire is a must. The wire connects the in-built battery with a power source or to the HVAC system to complete the circuit.
In many cases, a loose or potentially weak c-wire causes the charging problems of the Nest thermostat and needs replacement. To avoid this situation, invest in a thermostat that offers charging without a c-wire.
No products found.
Use a USB Cable to Charge the Battery Manually
If your Nest thermostat doesn’t charge, fix the low battery temporarily by manually connecting with a mini-USB for a first-generation device. Use a micro-USB for Nest thermostat E or that of the second or third generation.
Replace Your Unit
If your Nest thermostat won’t charge and, if it falls in the warranty period, get the unit replaced. You can communicate with Google support and find out possible solutions if your warranty has expired. Either buy a new device or purchase an internal battery and replace it. You can also call your furnace repair expert technician for help.
Check The Wiring Between the HVAC and Nest Thermostat.
If your Nest thermostat doesn’t charge, the problem might be faulty wiring. If you have successfully used the device for some time now, wiring won’t be a problem, but check the wiring for recently bought devices.
Use a compatibility checker tool and check if your wiring is correct. Check both the wires meant for heating and cooling and the c-wire as in some cases.
Figure out which wires are supported and scrape out and replace the non-compatible wires. You will need a standalone power supply in this case. Moreover, a blown-up fuse won’t allow power to reach your Nest thermostat. Hence, check your systems control board.
If your HVAC system has durable sensors, it will be sensitive to voltage fluctuations. Such instances would hamper the charging of your Nest thermostat. Hence, contact an HVAC technician to solve the problem.
Things To Try Out If Your Nest Thermostat Won’t Charge:
Reboot the Thermostat.
Reboot the thermostat to solve the software issues it might be facing without any technical skills and begin a new page. To restart the thermostat, turn it off and let it sit idle for a minute or two before you start its operations again. A quick restart will troubleshoot some minor issues of charging and allow the system to boost up.
Reset the Thermostat.
Even after a quick restart, if charging issues prop up, try a factory reset to the device. Tap on the reset button for 10-15 seconds or go to the settings application and reset the thermostat. If your Nest thermostat won’t charge, set the device up from scratch, and thus any settings that cause a problem with the charging will be fixed and solved.
How to reset the Nest thermostat?
- Click on the screen till it shows the options on its display.
- Rotate till you find the settings menu and click on it.
- Navigate till the end until you find the Reset option on the second last dialogue box.
- Click on Reset and check on all settings to fix up the charging issues.
- Reset the thermostat to factory settings and click on Okay.
C-wiring Solution:
Consider c-wiring to your thermostat if your Nest thermostat won’t charge and have power without any problem. If you install a c-wire, it will be easier to connect and get a constant power supply.
Install A C-Wire Transformer:
An inexpensive solution, the transformer, gets you a plug for your AC outlet. Close your device and drag the cable up to the device. Now, use a concealer to cover the wiring.
No products found.
Use The G-Wire:
Use a G-wire in place of a C-wire. G-wire is the fan control cable and, your thermostat will always have power. However, you will need to sacrifice the fan for this solution.
Mount to the base
If your Nest thermostat doesn’t charge, it might not be connected to the base correctly. Ensure that all connectors are in the proper position for power to flow through.
Replace The Battery
Ask your retailer for a battery replacement if your Nest thermostat falls under the warranty period. Alternatively, take the battery and replace it yourself.
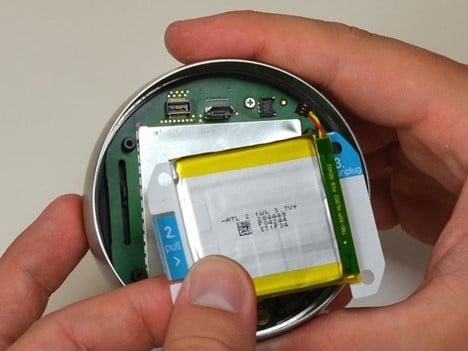
How To Replace the Battery?
If your Nest thermostat doesn’t charge, consider replacing the battery. All you need are tweezers and a screwdriver to remove the plate for letting the battery out.
- Firmly hold the device’s outer ring with your fingers and pull it away from the wall.
- Rotate the instrument and take off the four 6mm screws from behind the display.
- Slightly pinch the gray 20-pin connector with your fingers and pull it away from the display boards. Do not pull it too hard as the ribbon on the back panel will get damaged and, the device might become useless.
- Navigate to the blue pull-tab that says ‘Pull’ and, using your fingers, take it away from the motherboard. Alternatively, use tweezers to pull the battery from the base.
- Navigate to the blue tab which says unplug and gently take the battery away from the motherboard. The battery will separate and then replace it.
Conclusion
If your Nest thermostat doesn’t charge, consider troubleshooting it for quick solutions. Check whether the unit has proper wiring, receives a constant power supply, or has a draining out battery. If too many problems arise, replace the battery to make your device as good as new.