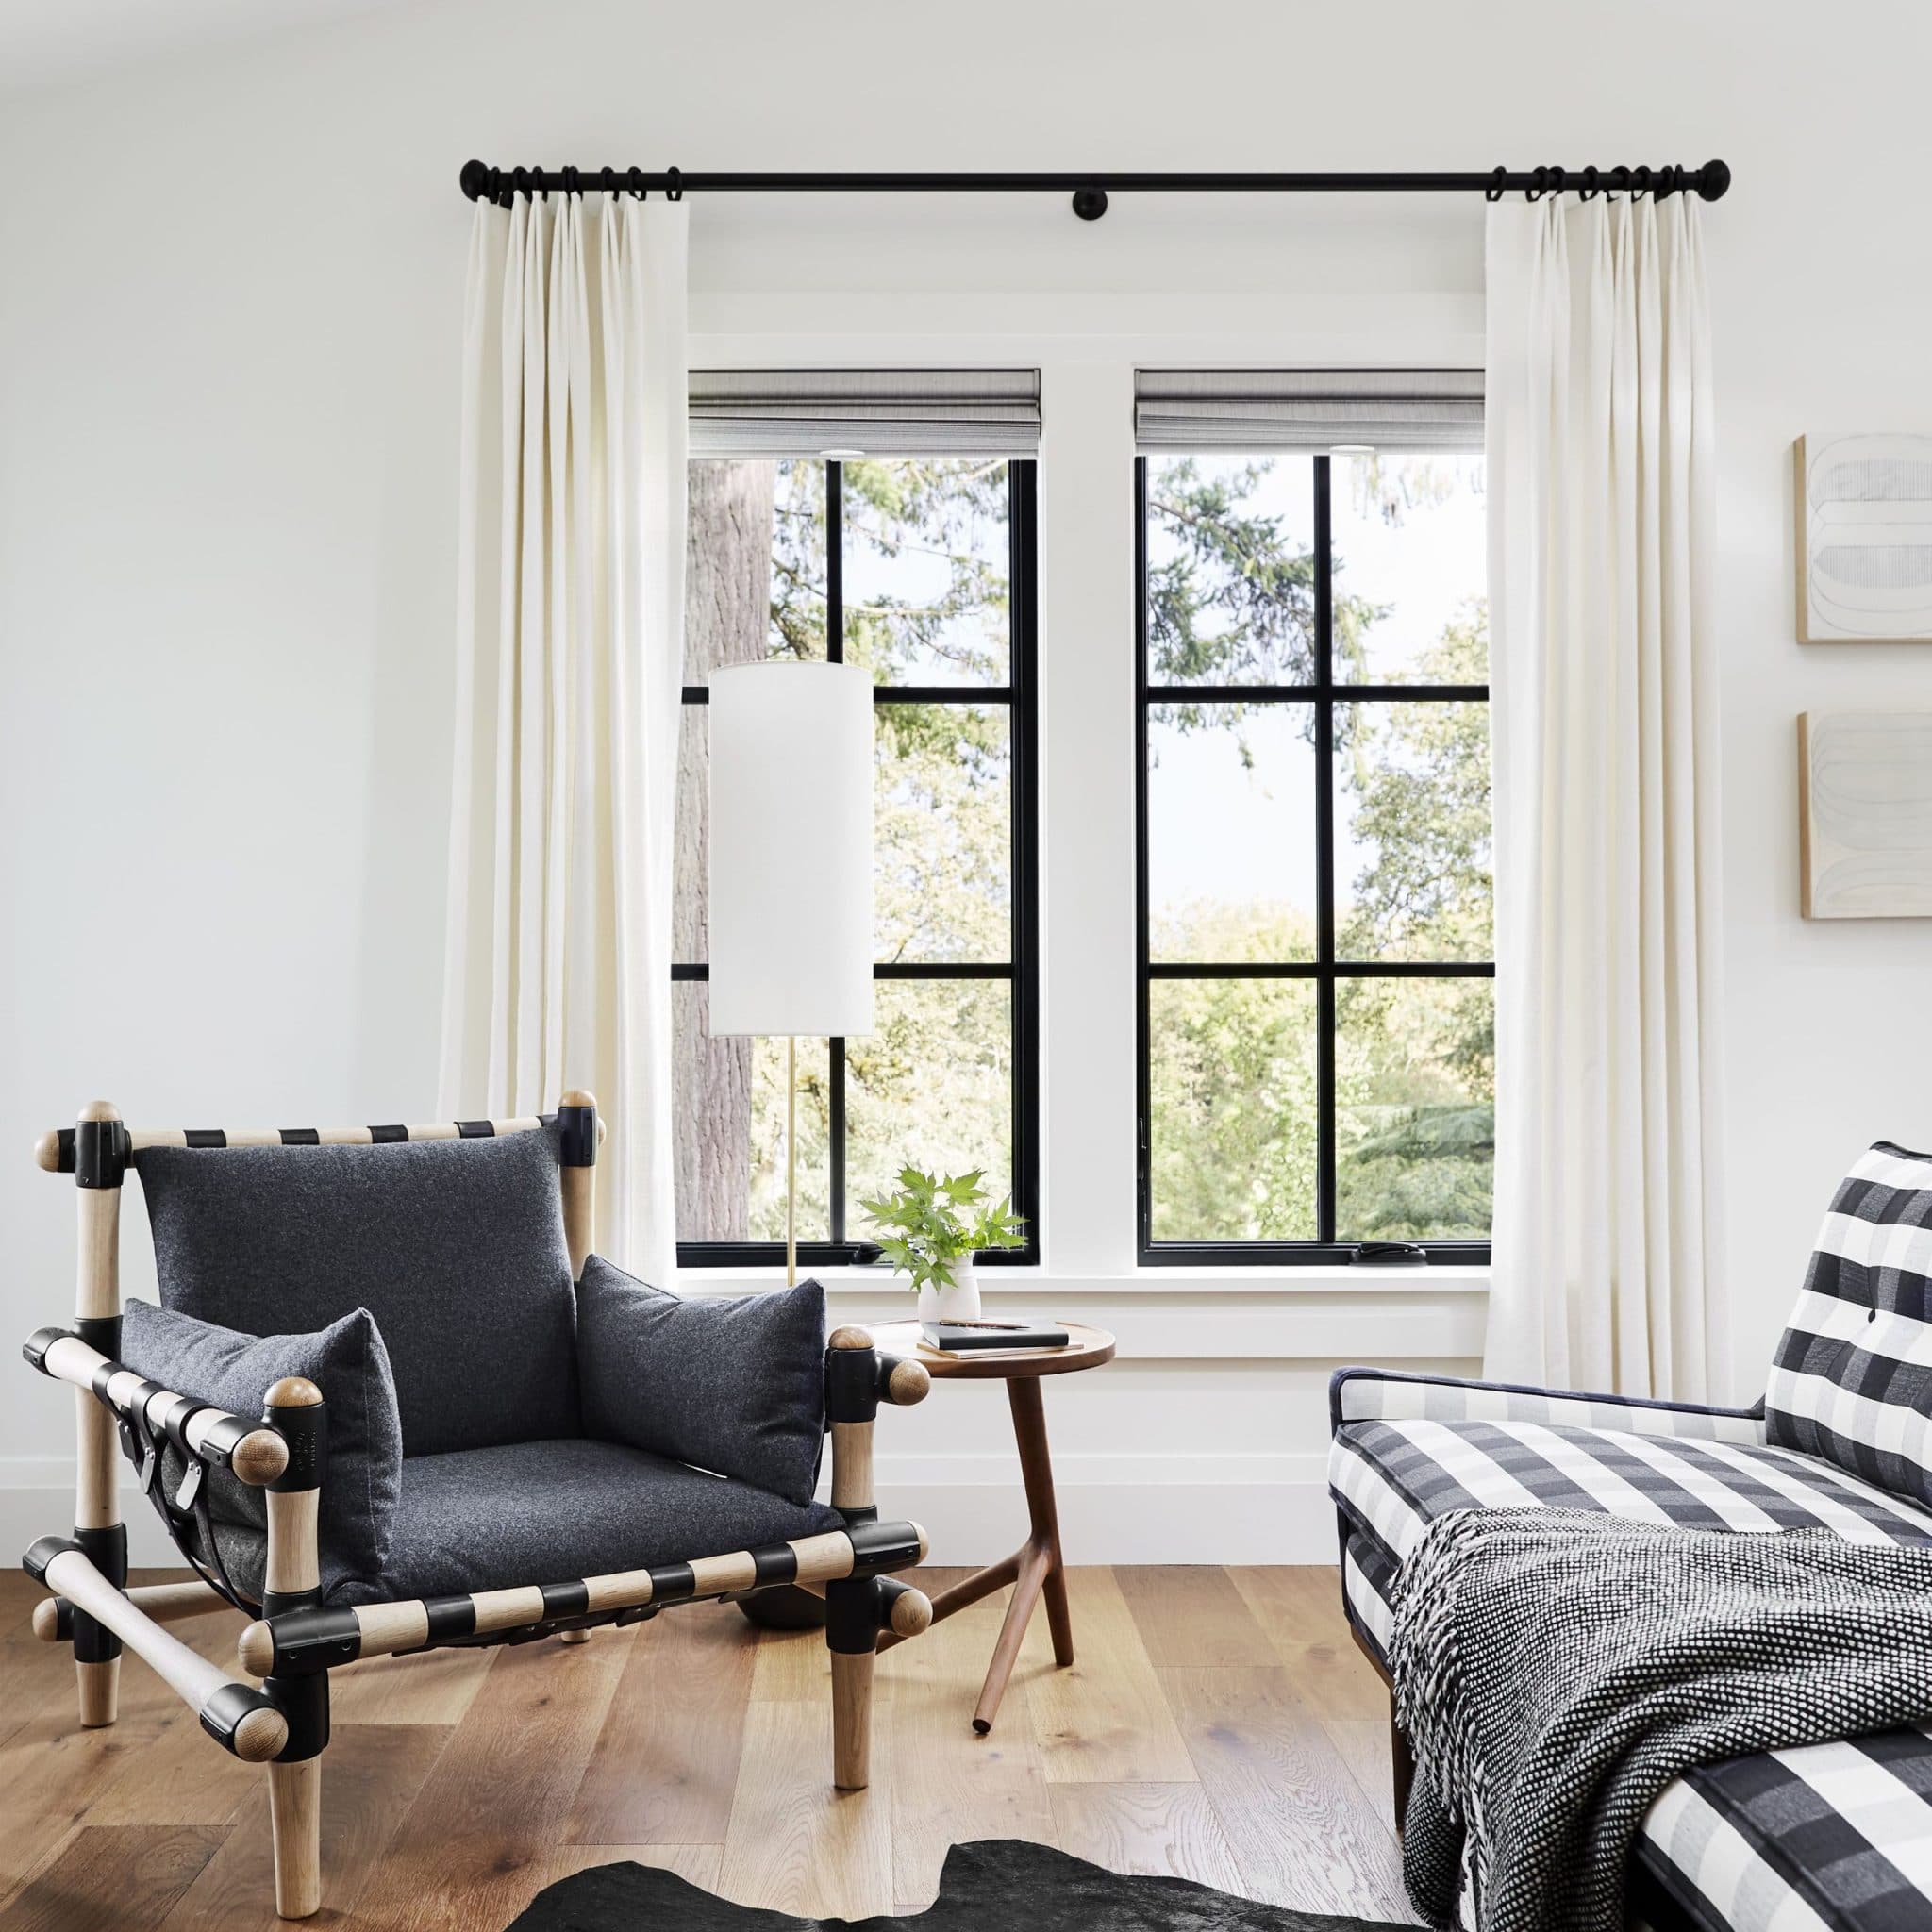
Many homeowners want to upgrade the appearance of their homes. This can include painting or flooring, but an often overlooked way to immediately transform a space is using custom drapery.
Whether you live in a studio apartment in the city or a rambling house in the suburbs, window treatments can make a huge difference to your living room, family room, bedroom, kitchen, dining room, and even bathrooms.
Here’s how to hang new drapes to enhance the aesthetic appeal of your house.
Steps to Hang New Drapery: The Essentials
Before you begin hanging new drapes, there are just a few essentials that will help ensure that your project goes smoothly. You’ll need:
- Cord or cordless hanging system curtain rods (you can use basic single curtain rods, traverse rods, pinch pleat/nickel drapery rod, etc.)
- Tape measure fabric scissors or rotary cutter
- Mat measuring tape pencils wooden shims (or small magnets if you don’t want to make your own)
- Double-sided mounting hooks (if you are using a silky material)
Iron Out Installation Wrinkles Before Hanging New Drapery
Fabric is tricky when it comes to installation because of its natural tendency to shrink. To prevent puckering in the seams, later on, take time to iron out the wrinkles before you begin.
If you’re unsure what type of fabric has been used for your new drapery, take a few minutes to steam the wrinkles out. If you’re using new fabric for your project, read on how to hang drapes without ironing.
Ready a New Drape
Depending on if you are hanging new drapes or reusing existing ones (or repurposing some other type of fabric), there are various ways to make sure that your drapery is ready for installation. For example:
If you’re using single curtain rods, position brackets 7 3/4″ apart on each side of the window frame (so they rest 1 1/2″ down from the top and 2″ up from the bottom). Mark this location lightly with a pencil, open your rod pocket by pressing it flat on a hard surface.
If you’re using traverse rods, position brackets 3″ apart on each side of the window frame, so they rest 1/4″ down from the top and bottom.
Make sure to use appropriate hardware for weight loads. If you are hanging drapes lined or blackout panels, mark the center bracket location with a pencil, then find the halfway point by dividing it in half once more.
Mark this spot with a pencil as well. This is where your center bracket will go. Use double-sided mounting hooks to attach drapery weights every 2′ along the top of your drapes, which will prevent them from falling (add 5 pounds of weight per drape).
If you’re reusing existing drapes, measure the length of each side and multiply by two. These measurements will be used to determine the drapery rod pocket width and positioning on the window frame. Measure and mark your rod placement.
Rotary Cutter and Mat
If you want to add pleats, gather one end section on each side and then tie them together at a right angle so they form a knot. Gather again as needed until pleat depth has been achieved. Use a pencil as a guide as you cut slits over the knot so that the pleats open evenly along with the entire curtain.
If you want to add a balance, use fabric scissors or a rotary cutter and mat to cut the appropriate width of fabric so that it will drape over the curtain rod. Before cutting, fold the fabric in half with right sides together, aligning selvage edges, so they overlap by 1/4″ at the center (where the depth of curve is desired). Continue this process until you have enough fabric for your desired length. You can also layer multiple pieces of material for more detailed looks.
Hang New Drape on Window Frame
To ensure that new drapes fall properly once installed, begin by hanging them on the drapery rods before mounting them on the wall. If you’re using basic single curtain rods, pinch each side in the center, then open by holding them at a right angle to the window frame.
Slide the drapery rod through the pocket so it rests behind the fabric. When standing on a ladder or step stool, use your fingers to smooth out any gathered areas along each side of your drapes.
Conclusion
Since draperies will always wrinkle to some degree, it is best to take steps before hanging them on the wall where they can pose a hazard (becoming tangled in fireplaces). Wrinkles also make the fabric more difficult to work with when attaching hooks or clips for corded lift systems.