Even though home renovation spending is set to decrease in 2024, it still sits at $457 billion in the US alone. If you plan to get a piece of this DIY game and embark on a journey to construct your own shed, we have some information you’ll want.
A good shed is your backyard’s Swiss Army knife—a versatile outbuilding that can serve a multitude of purposes. Need storage space for your lawnmower, garden tools, or seasonal decorations? A shed does the job. If you want a retreat for your hobbies or a playhouse for the kids, a good shed might be your answer once again.
But why should you consider building your own shed instead of simply buying a pre-made one? Well, besides the undeniable bragging rights, constructing your shed offers many benefits. By customizing the design and size to fit your specific needs and space constraints, you can create a truly tailored shed.
Selecting the best foundation for your shed
A gravel pad with a lumber perimeter is a top contender and a sturdy and reliable shed foundation among many other foundation choices. A gravel foundation provides stability and support by evenly distributing the weight across its surface, ensuring your shed remains level and secure.
Gravel pads are also excellent at managing water drainage, which is crucial for preserving the integrity of your shed over time. Thanks to the porous nature of gravel, excess moisture is efficiently whisked away from the bottom of your shed, reducing the risk of water damage and rot.
Gravel pads are effective, relatively affordable, and straightforward to build. Compared to more complex options like concrete foundations, gravel pads offer a budget-friendly alternative without compromising durability. When constructed with the proper footers – often concrete shed piers – gravel pads can meet the foundation requirements set by most townships or municipalities. This means you can rest assured that your shed is built to last and meets all necessary regulations.
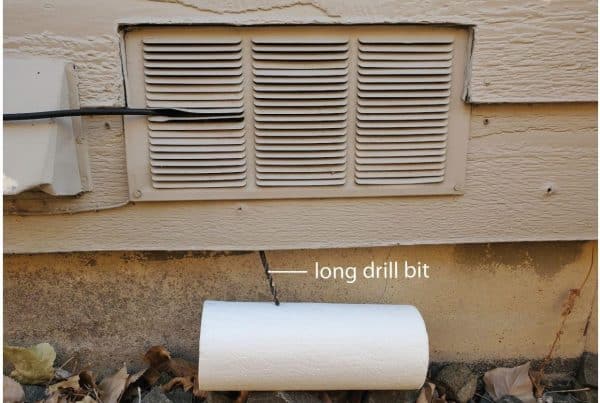
Image credit: mfromfaraway
Steps for building your shed
It may seem daunting, but there are ways to mitigate the stress levels, and successfully build your shed. Follow these 12 steps, and you’ll be well on your way to constructing your DIY shed:
- Check Local Regulations: Before you start swinging hammers, check all of your local building codes and zoning laws. Make sure to apply for any necessary building permits to avoid any headaches down the road.
- Draw-Up Plans: Every successful project starts with a plan. Take the time to draw up detailed shed plans that outline measurements, materials, and design considerations. This will serve as your roadmap throughout the construction process.
- Set the Foundation: The key to a sturdy shed lies in its foundation. Depending on factors like regulations and soil type, you must decide on the best foundation for your shed. A common option involves placing wood beams on the above-mentioned gravel for a solid base.
- Build the Floor: With the foundation in place, it’s time to build the floor. Connect the wood beams with floor joists and cover the frame with plywood for a wood floor. Alternatively, consider pouring a concrete slab for a more permanent flooring solution.
- Construct the Walls: Start by constructing the front and back walls to account for any door frames. Use your shed floor as a flat surface to assemble the walls, and remember to incorporate a framework for the roof design. Assemble the side walls accordingly.
- Add Siding: Panel each wall with your chosen siding material. Plywood is a popular and easy-to-use option, but the oriented standard board is a more affordable alternative.
- Assemble the Roof Frame: Use the shed floor to build the frame for your shed roof. Construct roof trusses according to your chosen roof design, whether a classic gable or a more complex gambrel style.
- Secure the Walls: Stand and secure your constructed walls individually, ensuring they align with the shed floor and adjacent walls. Use nails or screws to secure them tightly in place.
- Place the Roof: Fix each roof truss onto the wall’s top plates to secure the roof frame. Cover the frame with plywood to complete the roof structure.
- Install the Shed Door: Whether you purchased or built your shed door, carefully attach it to the front wall using hinges. Consider installing double doors for a more spacious entryway.
- Add Trim and Paint: Attach trim along the sides and corners of your shed for a polished look. Secure fascia boards along the edges of the roof for added protection, and finish off with a coat of stain or paint to weatherproof the exterior.
- Finish the Roof: Complete your shed by adding roofing materials like shingles to protect the plywood from the elements. Installing gutters along the roof edges can help manage water runoff and prolong the life of your shed.
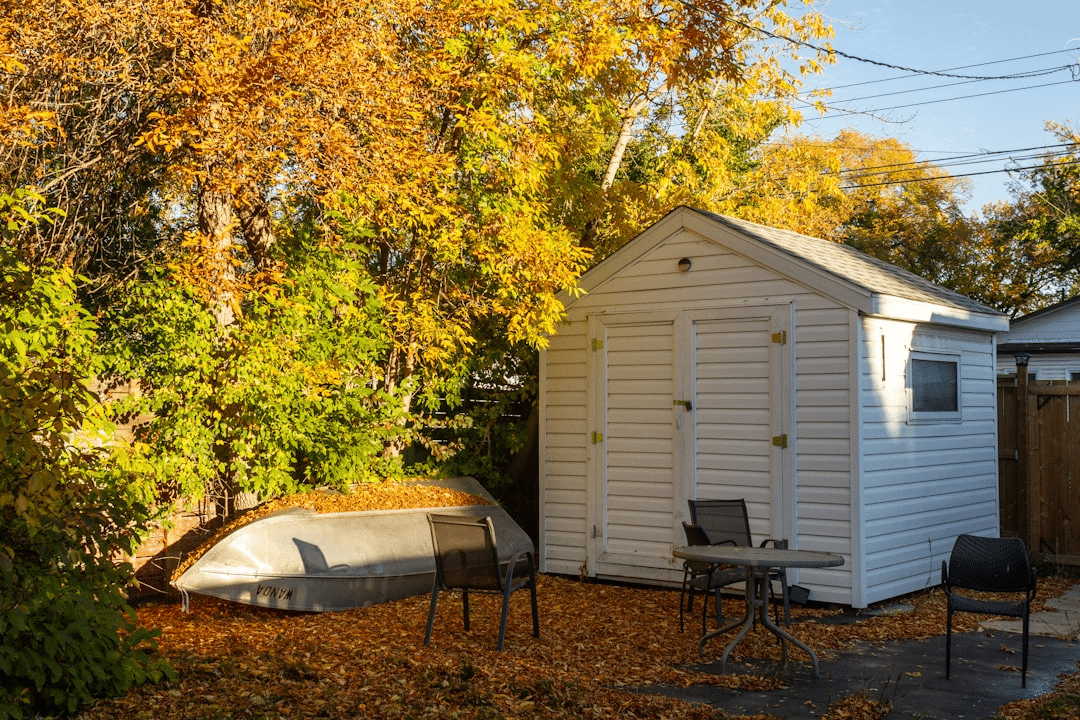
Image credit: Ric Matkowski
What is your next home improvement goal?
Crowdyhome was created to help you avoid common and costly home improvement mistakes. Our blogs offer insights, tips, tricks, and guidelines so you can take on home improvement projects with a wealth of experience behind you. Happy reading!