
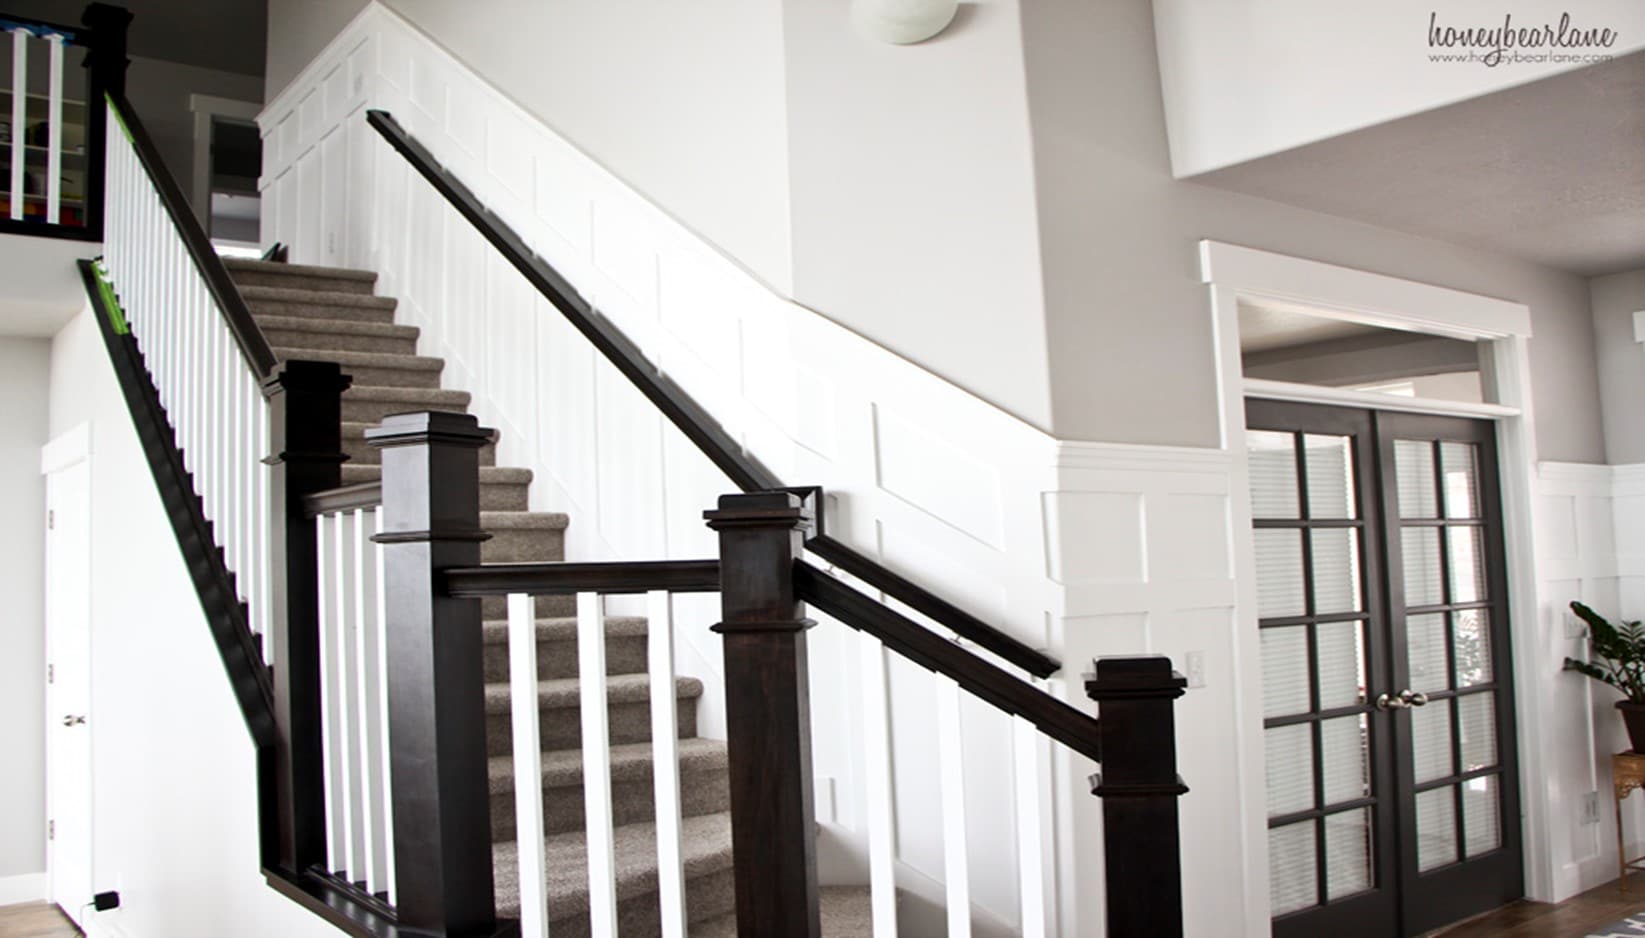
Have you ever renovated your house? Well, it is a common thing to do! People love to make small changes or give a royal look to their house. Making it simpler for you, we have come across how to add wainscoting on the stairs to give them a beautiful and furnished look.
Keeping that in mind, today we are serving you a step-by-step solution for making your staircase look attractive and useful at the same time. So, what are you waiting for? Let us dive into the prime content and learn the easiest way.
What is Wainscoting?

Started in 18th century, wainscoting is a wall covering which is used to help wrap a room and gives a well-established surface than a painted wall. Now, the main use of wainscoting is to decorate wall that generally rises to certain level and makes a room very eye-catching. However, wainscoting was made from wood. The height of the details for wainscoting can depend on your room size, designs and the look you are willing to execute.
Apart from professionally built there are several Wainscoting stairs DIY which help you in accessing simple steps and procedures. According to a famous interior designer, Barbara Mount, wainscoting can reach up to the level of five feet for a good impact. Present day wainscoting designs are done from Gamut of wood items. Made from ceramic tile, bathroom and other areas affected to moisture are good for wainscoting as it is very easy and simple to clean.
Benefits of Wainscoting
- It helps in securing walls in the best way by using a wood, suitable for your house.
- Mixes itself perfectly with the paint color and room design.
- Assist you in getting a good and easy cleaning.
- Maintains the royalty by improving the presentation of the house.
Step by Step Guide to Add Wainscoting
Step – 1
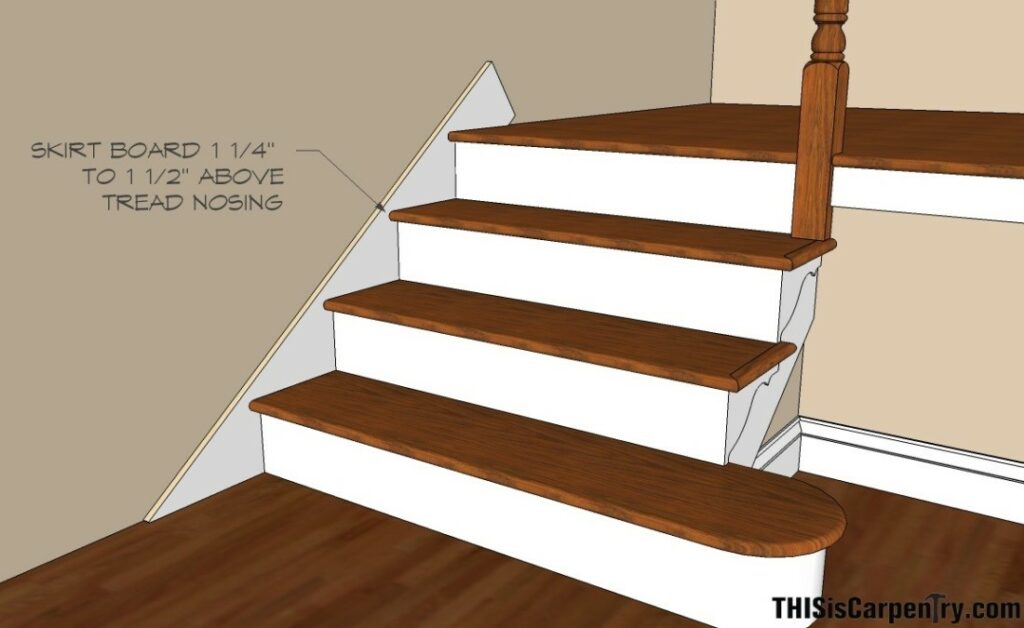
To identify the amount of wainscoting you need to take the measurement of stairs length. Start by measuring horizontally from the top section of the stairs and ending till the tip of the bottom stair. In addition to that, you can avoid measuring the stairs straight down the slope as that can give you false dimensions.
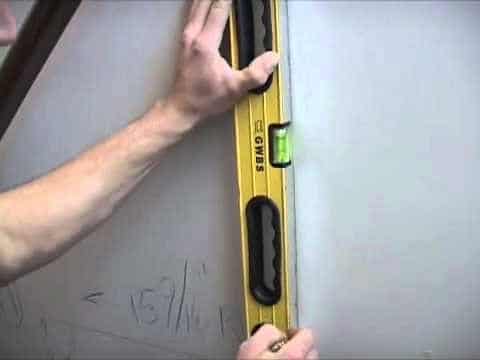
Step – 2
Try keeping your direction vertically on the skirting board or baseboard between the wall and the staircase. Keep it in a way that the bubble comes in a vertical level, while the corner of that level should rest on the angle of the skirt-board or baseboard.
Step – 3
Keep a sliding T-bevel square to place the blade against the level, and the handle is on the slope of the baseboard. After this, always check if your level is sharp and straight. Now, find your angle on the T-bevel square.
Step – 4
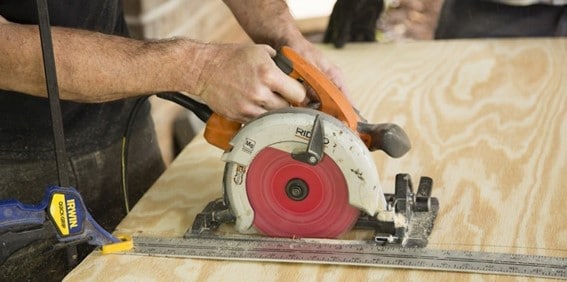
Regulate the angle of your saw blade to the angle you get on the T-bevel square. It is always the best solution to attempt several test cuts with a leftover piece of plywood before you make your final move over an expensive cut. Later, take your test cut and keep it on the baseboard to make sure if the angle is right.
Step – 5
Reach out to the wall studs, taking the help of a stud finder or by placing one stud with a nail in the area where you are going to cover it with wainscoting. Measure 16 inches to find all wall studs and try using a piece of painter’s tape over the installation space area by marking the place with a pencil. Otherwise, you can also use your level to make a straight line down to the stair panels. Keep other pieces of painter’s tape on the stair panels and point another mark. This will give you a great visual of the stud in the wall vertically.
Step – 6

Keep the first piece of the wainscoting on the table saw with the fine lines on it lying on the top of the table with a saw. Now start cutting at the corner, in the top, and push the wainscoting with the help of a blade from one side to the other. Similarly, does it on the other way i.e., turn around the wainscoting to 180 degrees and place the new corner in the table saw.
Make sure, this new corner should be the corner that is kept in slant or diagonally as compared to the first corner. Once you have completed the cutting section, you should get two angled edges of your wainscoting while two other edges which are straight. Basically, it should be in the shape of a parallelogram. The straight part of wainscoting should be at the sides, while the angle cuts should be on top and bottom.
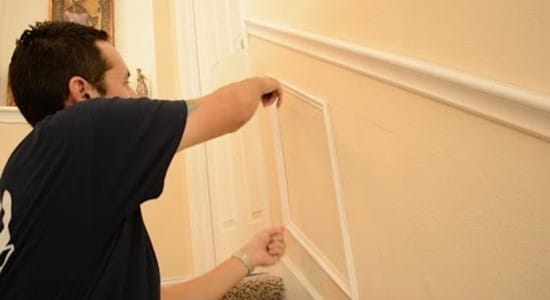
Step – 7
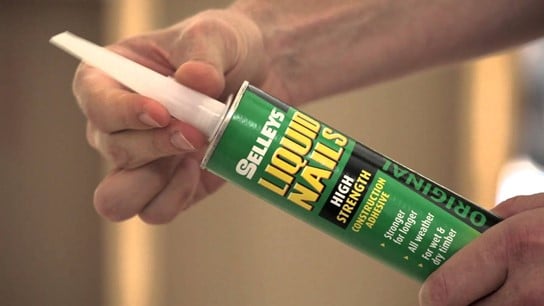
Press the liquid nails in a zigzag symmetry on the backside of your wainscoting. Keep the first piece at the bottom of the stairs and fix or tighten them with the help of finished nails. Now start working all the way up to the stairs by placing one piece at a time. If you have selected to place tongue and groove panels, locate the first plank with liquid nails on the backside while grooves facing up to the stairs. Now fix liquid nails to the backside of your panel and continue up the stairs while hitting nails on the panels that nails the stud.
Step – 8
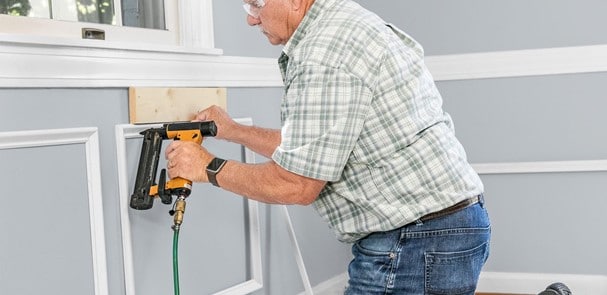
Give your wainscoting soft hammer shots with a rubber mallet or the fist of your hand for better sticking to the wall. As an alternative, try to apply some pressure by using the palms of your both hands while keeping your hands still on it for few minutes. This will push the liquid nails around and create good suction.
Step – 9
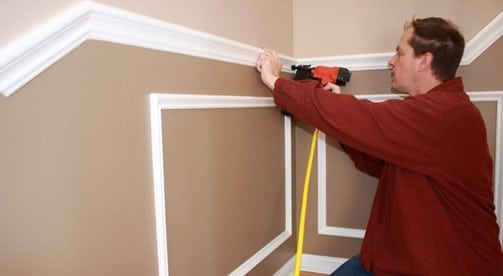
Start molding the nails on the top edge of the wainscoting to create a finely finished edge with varnished nails and a thin line of liquid nails in the channel where the wainscoting is meeting at the wall. There are several options for molding that one can use to customize your wainscoting like chair-rail, half-round, and crown molding, and a lot many others.
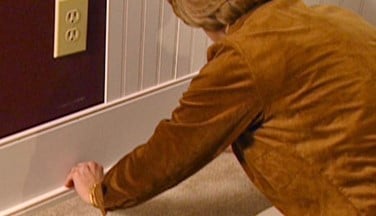
Step – 10

This is a finished and the final step of your wainscoting where the last touches are of staining and painting. You can use painter’s tape on the wall to prevent the stain or paint from being sprinkled on your wall. Use the same tape to go towards the bottom edge entirely of the wainscoting for one continuous line going up the risers, over the final stair or bullnose, and across the panels.
Final Thoughts
Wainscoting is a very casual and popular way to design your surroundings but what if you do it by yourself? Well, interesting to hear but would take a time to get the final look. Trust me that would be charming to see such a beautiful place, especially stairs.
Well, on that note enjoy and try the steps we shared in this article. So, we are now signing off and will meet you again with a new topic. Till then, let us know if our post helped you in any way. Also, keep visiting us for more such incredible content.
Stay safe!


I bought wanescotting panels (that come in 3 squares) from Home Depot for my stairs. They don’t look good horizontally so I was going to cut the panels where the 3 squares are and place them one by one, to make them go vertically down my stairs. Would that work?