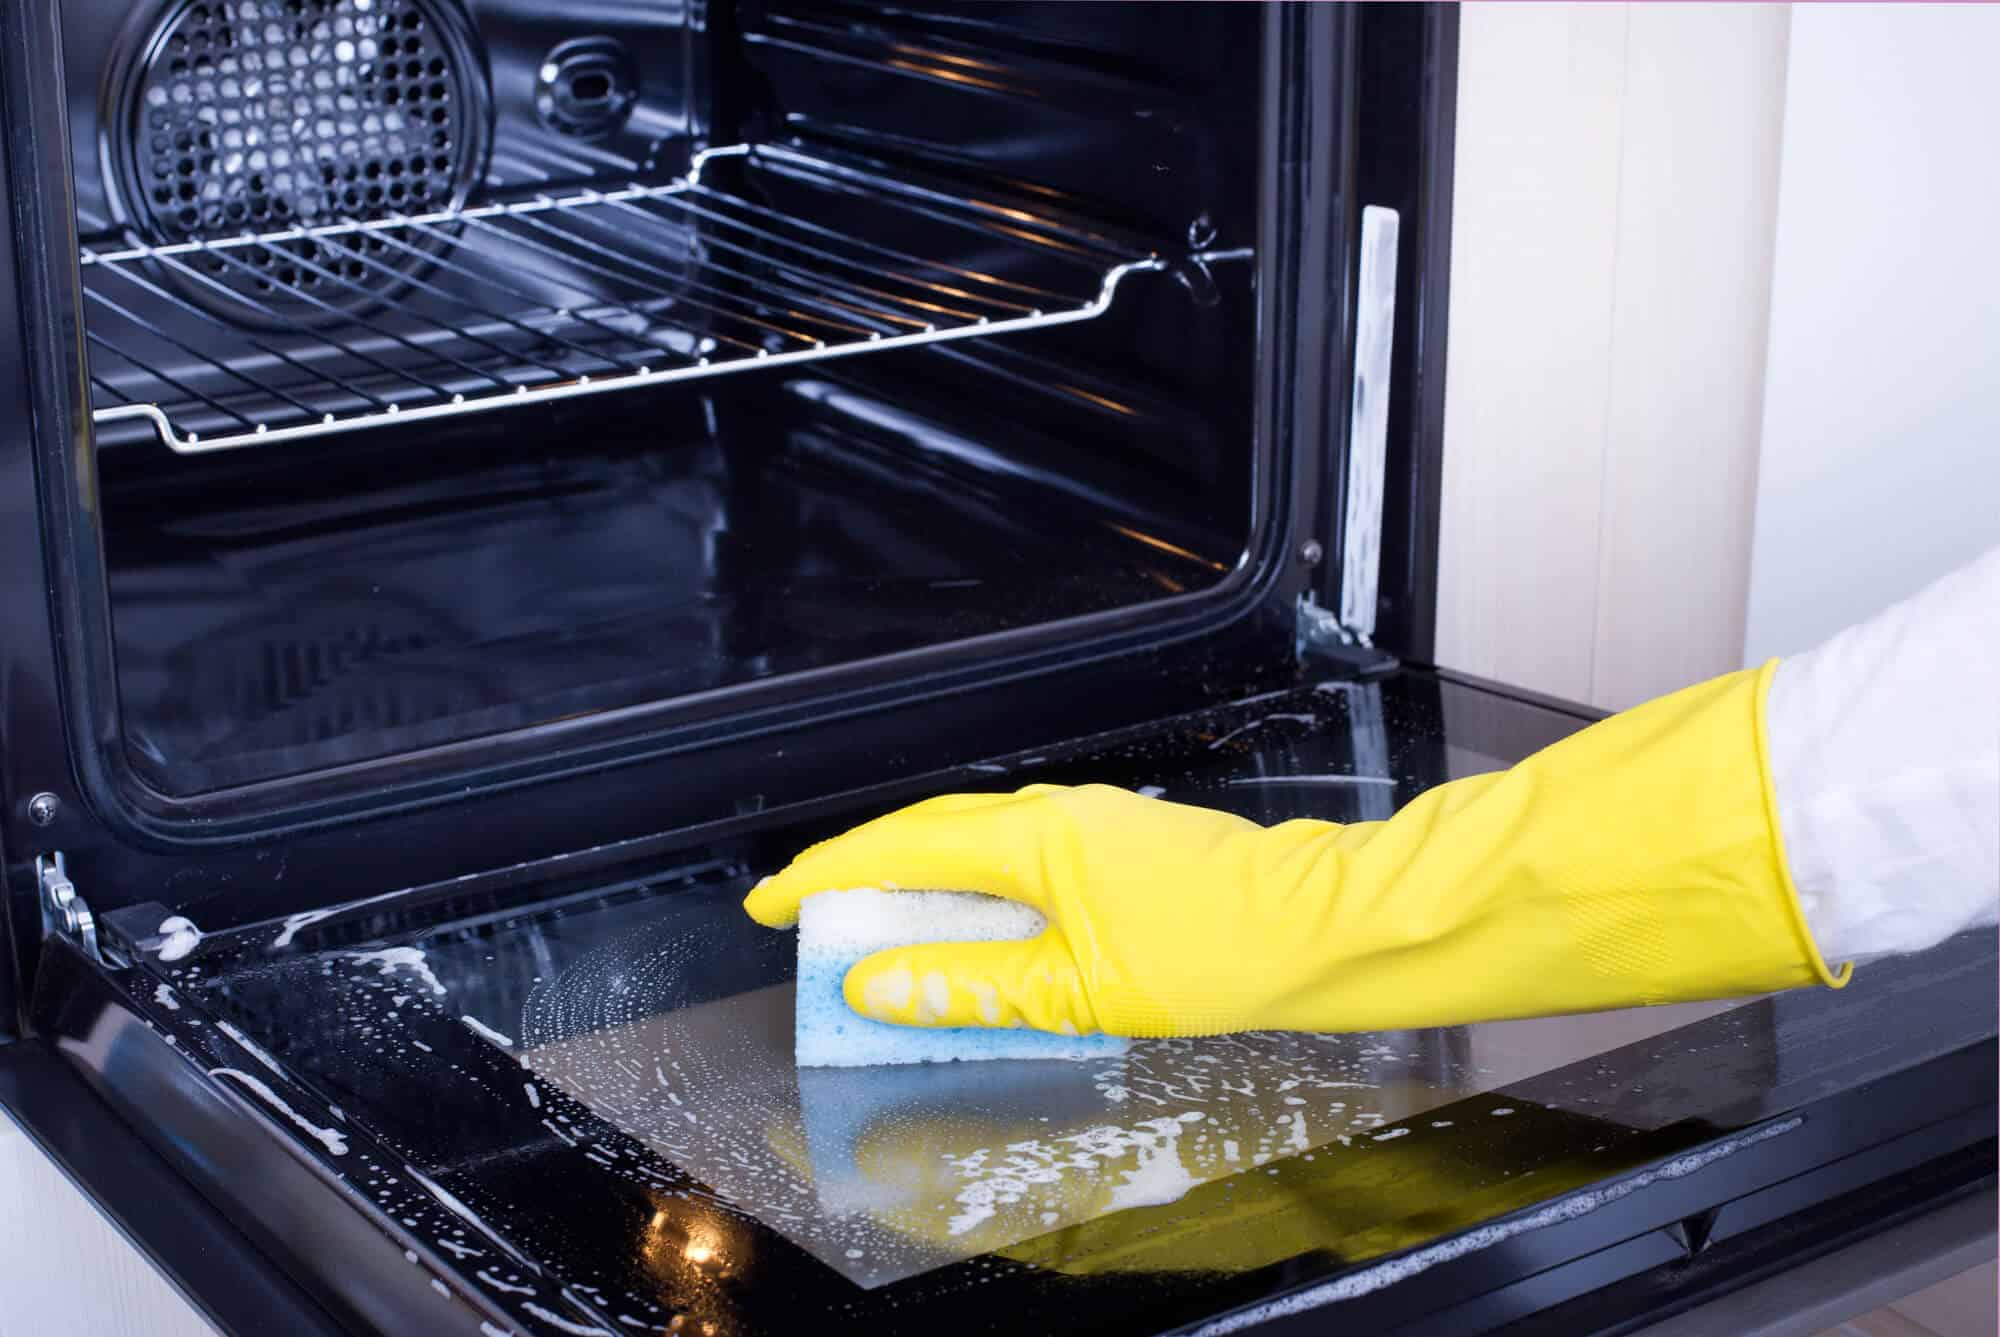
As you prepare to move from your apartment property, ensuring that your oven and hob glow smoothly is essential. Deep cleansing of those appliances not only improves their appearance but also prevents the buildup of grease and dirt that can affect their overall performance, which is particularly crucial for end-of-tenancy cleaning. In this article, we will walk you through the steps to correctly deep smooth your oven and hob, leaving them pristine for the following occupants.
Yes, you are probably going to invite me to enlarge every subsection by one paragraph to offer extra targeted steering on the way to smooth the oven deep and hob earlier than shifting out. Let’s do this:
1. Gather Your Supplies
Before you begin the deep cleaning manner, it’s essential to accumulate all the necessary resources. Start with the aid of getting your palms on a great oven cleaner, as well as a scrubbing brush or sponge mainly designed for tackling hard oven stains. Additionally, you will want baking soda, white vinegar, dish cleaning soap, a microfiber material, and rubber gloves to keep your hands from harsh chemical substances.
Having all these resources accessible will make sure you’re absolutely ready to address grease and dirt successfully, making the cleaning technique smoother and greener.
2. Prepare Your Oven
To start deep cleansing your oven for end-of-tenancy cleaning, begin by disposing of the oven racks and any other removable add-ons. These items can be soaked in a sink filled with warm, soapy water to assist in loosening baked-on grime even as you figure on the oven interior.
Before making use of any cleansing merchandise, ensure the oven is absolutely cool to the touch to keep away from any risk of burns. If your oven has a self-cleansing characteristic, discuss it with the producer’s commands to run the cycle. This feature uses excessive temperatures to burn off grease and meal residue, making it simpler to wipe away. If you no longer want to do so, you can proceed with applying an oven cleanser to the interior surfaces.
3. Clean the Oven Interior
With the oven racks eliminated and soaking, it’s time to address the interior of the oven. Apply the oven purifier generously to the indoor surfaces, paying more attention to regions with cussed grease and dirt buildup. Allow the cleaner to sit for the advocated amount of time as in step with the product commands, typically around 15-30 minutes. During this time, the cleanser will penetrate and destroy the tough stains, making them easier to do away with.
After the unique time has passed, use a scrubbing brush or sponge to wash away the loosened dust. For particularly cussed stains, create a paste with baking soda and water, use it on the affected regions, and let it sit for time beyond regulation earlier than scrubbing.
4. Clean the Oven Racks
While the oven indoor cleaner is doing its magic, turn your interest to the oven racks. Remove them from the soapy water where they had been soaking, and scrub them with a brush or sponge to put off any final residue. For stubborn stains or baked-on dirt, sprinkle baking soda straight away onto the racks and spray them with white vinegar.
The aggregate of baking soda and vinegar will create a foaming motion that helps the upward thrust of hard stains. Allow the racks to sit down for a couple of minutes before scrubbing them clean with a broom or sponge. Rinse the racks very well with warm water to do away with any closing residue, then dry them absolutely before returning them to the oven.
5. Clean the Hob
To smooth the hob surface successfully, begin by casting off any detachable burner caps and knobs. These components can be absorbed in warm, soapy water to loosen any grease or food debris. Meanwhile, wipe down the hob floor with a damp cloth to remove any free particles.
Once the floor is apparent, spray it with a mixture of identical components, such as white vinegar and water. White vinegar is a natural degreaser and helps to break down stubborn residue on the hob surface, which is particularly important for end-of-tenancy cleaning. Allow the vinegar solution to take a seat for a couple of minutes, then wipe down the gob with an easy, damp fabric to cast off the loosened dust.
6. Tackle Stubborn Stains
For any stubborn stains or burnt-on residue on the hob surface, create a paste using baking soda and water. Apply the paste directly to the affected parts and allow it to take a seat for at least 15-20 minutes to permit the baking soda to paint its magic. After allowing the paste to settle, gently scrub the stains away with a toothbrush or a sponge, an effective method for end-of-tenancy cleaning.
The abrasive nature of baking soda facilitates the lift of cussed residue without scratching or damaging the hob floor. Rinse the area thoroughly with water and wipe it smooth with a damp fabric to put off any closing residue.
7. Reassemble and Polish
After thoroughly cleaning both the oven and hob, it’s time to reassemble any detachable elements and accessories. Place the oven racks lower back into the oven once they’re absolutely dry, ensuring they may be well aligned. Similarly, reattach the burner caps and knobs to the hob floor.
Once the entirety is again in the area, take a dry microfiber fabric and polish the outdoor surfaces of both home equipment to remove any streaks or watermarks. This very last step will depart your oven and hob searching vivid and new, prepared to impress any future tenants or homeowners.
These expansions have to provide an extra comprehensive manual to deep clean the oven and hob earlier than transferring out, ensuring that every step is apparent and precise. Let me know if you need similar changes or extra facts!
Conclusion
In the end, deep cleaning your oven and hob before moving out of your apartment assets is important for leaving them in pristine condition for the next occupants, particularly when considering the end of tenancy cleaning. By following those steps and using the proper cleansing merchandise and techniques, you could efficaciously remove grease, grime, and stains, restoring your appliances to their authentic beauty. With a little effort and time, you can make sure that your oven and hob are sparkling smooth and equipped for inspection, making the shifting manner smoother and more strain-free.