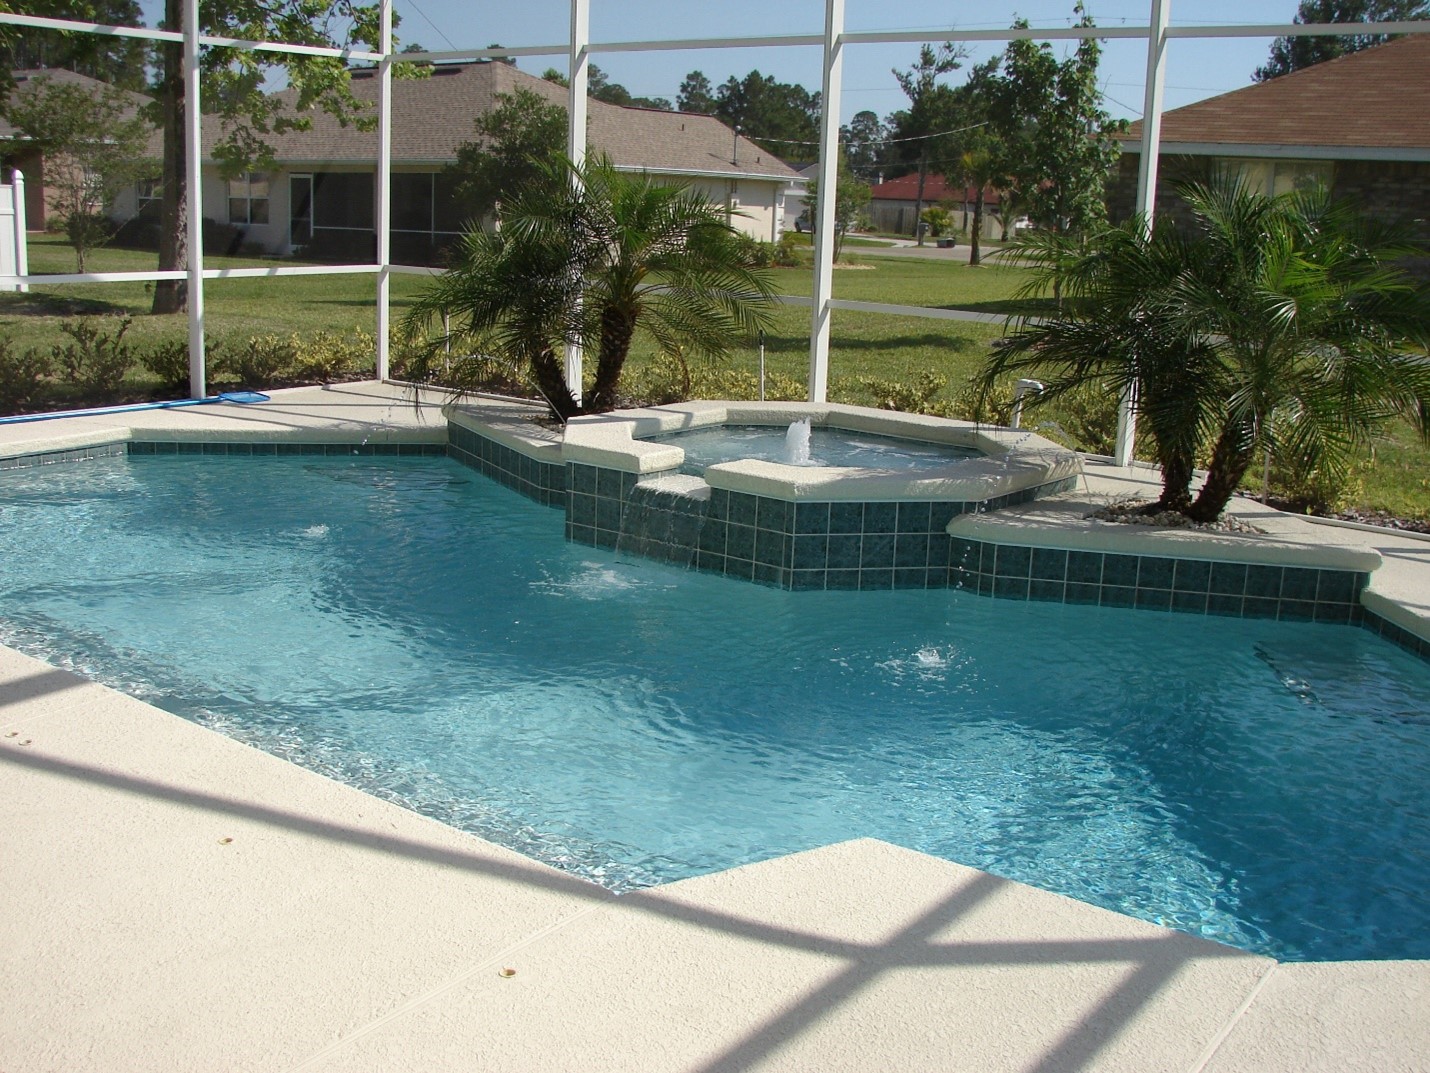
When it comes to pools, the most popular ones are fiberglass pools, right? But one of the biggest challenges people go through is to decide on fiberglass pool tiling.
So here, we will be discussing how to tile a fiberglass pool and everything around the matter.
Why Do You Need Fiberglass Pool Tiling?
When talking about fiberglass pools, the most common debate that comes around is about its tiling. Many people believe that fiberglass pools do not need any tiling. It is even true to some extent.
Fiberglass pools do not compulsorily need any tiling, but it is also not a waste of money. In fact, there are a few benefits that come along with fiberglass pool tiling.
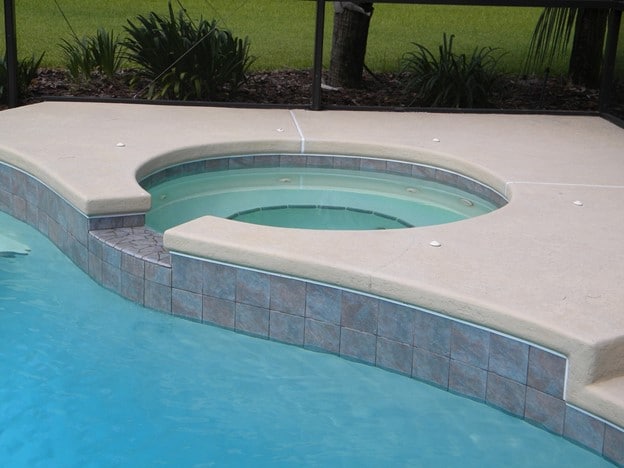
One of the biggest reasons for fiberglass pool tiling is to add beauty and durability to the pool. A style can be added to the whole pool structure with just tiling.
Styling your pool with tiling will make it unique from others and will eventually become a center of attraction in your house. It will always be beautiful to look at.
Moreover, the fiberglass pool tiling increases its durability to a considerable extent. It also gets easier to clean and maintain the pool that has tiling.
Also, if you are stepping back just because of the expenses a fiberglass pool tiling is going to give, do not worry! Tiling a pool, surprisingly, isn’t that expensive and can be done easily. Let’s see how you can do a fiberglass pool tiling all by yourself!
How To Do the Tiling?
Now that you know the reasons you can consider, it is time to look at the process of fiberglass pool tiling. Now, it is not rocket science. It may be a little more complex than normal tiling processes, though. If you are ready, let’s see how to tile a fiberglass pool.
Materials Needed – Before we head on to the actual process, you should know the materials required for it. You will need the following:
Acetone, a piece of cloth, silicon rubber grout, a grouting helper, nylon scrubbing pad, dish soap sponge, pool tile sheets, silicon tile adhesive, and epoxy rubber grout float.
Once you have these materials, you are all ready to get started. So, let’s see the step-by-step process now.
1. Preparation
Every task needs preparation first. So, before starting the actual fiberglass pool tiling, you will have to prepare your pool first. The preparation of fiberglass pool tiling doesn’t need many materials, and you just need a cloth or a wet vacuum, sand, and acetone.
Proper preparation is key to a successful fiberglass pool tile installation. Ensure the surface is clean and smooth before laying tiles for a seamless finish.
You should never tile a fiberglass pool with water in it, not even the leftover water at the bottom. So, this is the only preparation you need to do before tiling. First, you need to dry out the pool completely. Use a wet vacuum or a cloth to get all the water out of the pool.
Once you have removed all the water from the pool and made it dry, sand the bottom and sweep it nicely; after you are done sweeping, take acetone and clean the pool. Once you have cleansed the whole pool, make sure you wait for it to dry out completely before proceeding any further.
2. Measuring Tiles
Measuring the tiles is an obvious step in the process of fiberglass pool tiling. So, to start with, take the measurements of your pool. When you know the measurements of your pool, it will be easier to choose the size and number of tiles. Glass tiles usually come in sheets connected through the wire mesh.
If the tiles you have chosen to do not seem to fit perfectly in the pool, get them cut. When the tiles are not even, take a wet saw to cut them and make them similar in size. For the pool to look good after tiling, tiles must be of similar size.
3. Applying Adhesive
In this step, you will have to apply adhesive and place tiles in the pool. Simply apply Adhesive directly to the pool’s floor first.
However, if you are using glass tiles, then the process would differ. First, you will have to apply silicon tile to each tile in thin layers of adhesive. Then, perform the following step.
Apply a thin layer of Adhesive to the bottom side of the glass tile. Use a spatula for this purpose. No matter how and where you apply adhesive, make sure that you apply it evenly and cleanly.
4. Installing Tiles
Always start from one side of the pool for the best installation of tiles. Assess and analyze your pool to decide where to start from. Place your first set of glass tiles at the same time. Just make sure that all the glass edges are against the pool wall while you place them.
You need to make sure that you place the tiles perfectly horizontal and flat on the ground. After placing them, press them firmly so that the tiles stick to the Adhesive properly. Once you have successfully placed the first set of tiles, repeat with all the other sets of tiles.
Just make sure that you complete the whole process with patience and maintain the level of the tiles. You need to press all the tilesets firmly to get them on the same level.
5. Grouting
The process of grouting must be done only once the Adhesive has dried out completely. Therefore, you need to give it a good time to dry out.
It usually takes almost an hour or two for the Adhesive to dry completely. To be surer about it, check and go through the package of adhesive. Most adhesive packages have the drying out time written on them.
Once you are sure that the Adhesive has dried out completely, you can step forward in the fiberglass pool tiling process- applying caulk.
Use a caulking gun and start applying caulk between the tiles all over the ground. Also, apply it to the edges of the pool where pool walls meet the tiles.
Now, spread the grout evenly. Use an epoxy rubber grout float for this. While you apply grout, keep a piece of cloth with you. Use it to wipe out any excess grout from the pool’s ground.
Once you are done with grouting, the process of your fiberglass pool tiling is done. It would be best if you did some activities to add final touches to the pool.
Let It Settle!
For the final touches, take a nylon scrubber with a bit of detergent. Clean the grout properly with them. Then, rinse it all with fresh water to clean the soap.
Once you have cleaned everything, remove the excess water with a wet vacuum or a piece of cloth. Next, clean the tiles using a liquid mixture of water and vinegar. This will give a glow to your pool.
Following the above steps will give the final touches to your fiberglass pool before you can use it. Once you are done with everything, you are ready to dive in.
However, you have got to wait for two complete days for the pool to settle nicely. Then, after two days of the tiling process, you can fill your pool with water and enjoy.