The Nest Hello cameras have several outstanding features which include wide angle view, digital zooming and pan, automatic adjustments to lighting and night vision.
If you are looking to specifically learn more about the Nest night vision, then you are in the right place.
In this article, we shall have a look at the basics of the Nest night vision feature, learn the different settings that can be done to the camera and how to fix it if it stops working or shows any sort of problem.
Nest Night Vision
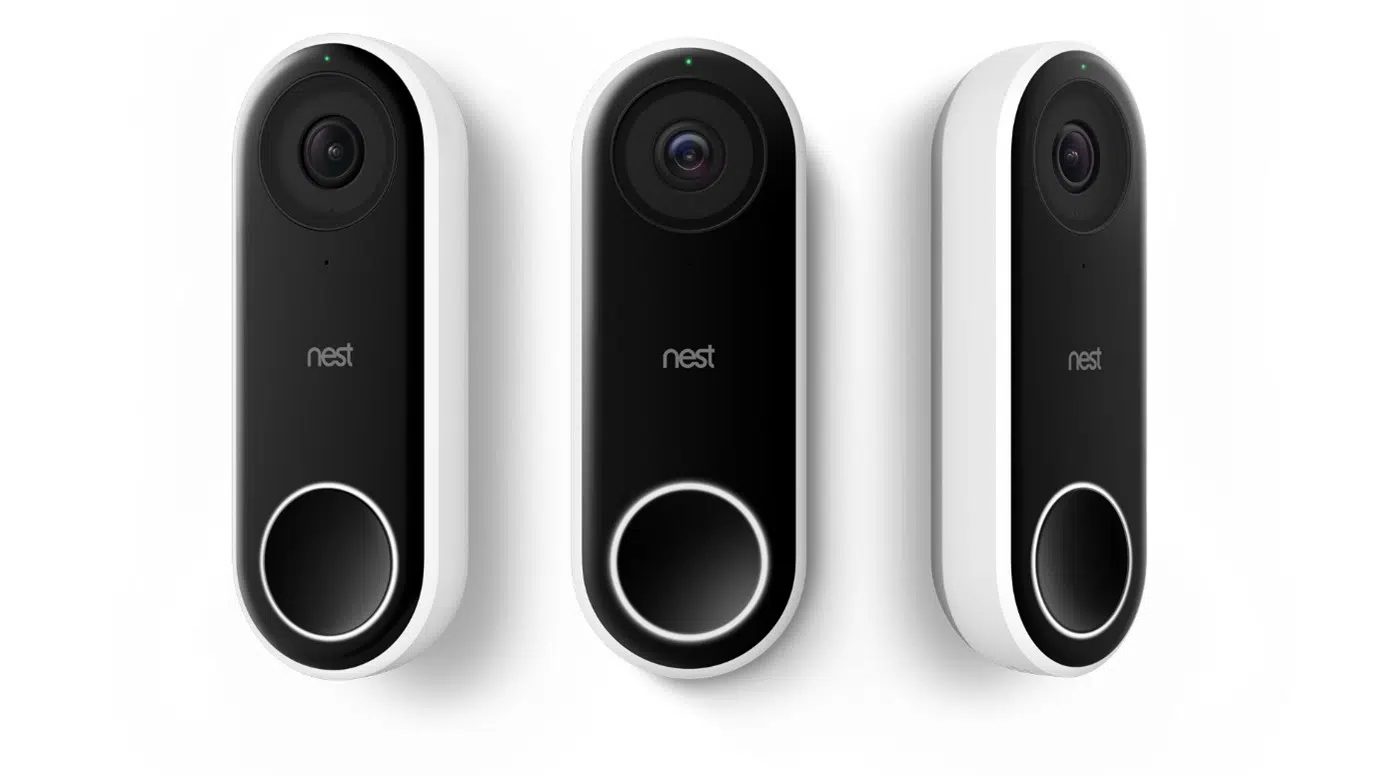
The Nest Hello cameras have a night vision which enable them to be able to guard your home in dark. They use high-power infrared LEDs for the same purpose.
The positioning of the infrared LEDs is designed in a way that the camera can illuminate the complete wide-angle view that the camera covers and not just highlight one single portion or corner of the purview.
The purview of the Nest night vision depends on the amount of light that is available, however, the average scope of vision provided by the camera in dark is 20 feet.
In case there is another source of light in the vicinity, the camera will be enabled to capture a bigger view.
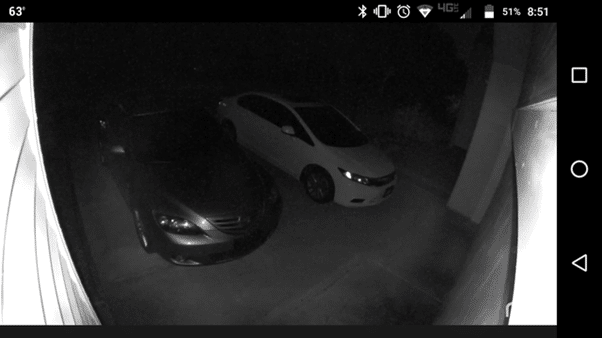
When the night vision feature is on, the video is streamed in black and white, regardless of the amount of light present in the scene.
The Nest night vision is designed in such a way that if somebody turns the lights on, it will automatically shift to normal video mode.
Another incredible feature they offer is that the cameras wait for the correct time to switch the night vision on. They switch between the normal mode and the night mode as the light changes.
Hence, during twilight periods, when the light outside is in transition mode, you might find the camera switching back and forth through the modes to adjust according to the lighting outside.
How Do I Change the Night Vision Settings?
Follow the steps given below to adjust the settings of your Nest night vision:
- On the Nest app home screen, select the camera you want to make the change in settings to.
- Next, go to ‘Settings’.
- Click on ‘Night Vision’.
- Lastly, you will come across three options – Always On, Off and Auto.
If set to Auto, the camera will switch to night vision by itself when it gets dark outside and turn back to normal mode when there’s light.
If set to Always On, the night vision will remain that way regardless of the amount of ambient light present outside, unless you don’t set it to Off or Auto. Your video will always be streamed in black and white in this mode.
The Auto mode is preferable as it enables the device to automatically change its settings, hence reducing the need of you regular attention.
My Nest Night Vision Is Not Working; How Do I Fix It?
You can easily tell if the night vision is being turned on or not during the dark hours. You will notice that the images are being coloured I shades like pink or blue if the night vision is not being turned on. In this case, first ensure that the mode you’ve set to isn’t Off.
If it is on Auto or Always On and the images continue to show up in colours, then try out the given solutions:
- Ensure that the camera is set on infrared mode or night vision.
- Turn the device off completely and then turn it on.
- Try and make some movements in the dark. Check if the camera detects these movements or not. If not, upgrade the software by visiting the website provided by the company.
If your camera is in a place where there are reflective surfaces like glasses, metal sheets, or tiles close to the camera, then the infrared light emanated from the Nest night vision will be reflected, thereby causing low quality images and stream. In this case, click here to learn better ways to position your camera.
External Blockages could be another reason why your night vision is not working. Any foliage, pieces of paper or trash settled in front of the lens could be blocking the vision. In this case, clean the lens carefully, ensuring no scratch.
Poor internet connection is another reason why the camera keeps lagging. Ensure that your Wi-Fi connection is fast and of good quality. A bad internet connection will cause deterioration in the quality of the video stream and images.
When you first buy the Nest Hello night vision, the lens is covered with stickers. This might degrade the quality of the images. So, ensure you remove the stickers after installation.
If your Nest night vision is set to Always On, then floodlights could be a reason causing a failure. You will notice a glare on the camera in this case. The lights radiated from the floodlights directly on the camera. In this case, the Off mode is preferable over Always on or auto since there is enough light outside.
Extreme temperatures can cause a glitch in the camera, too. If the camera is placed in away where it gets direct exposure to sunlight or if ice accumulates on the camera, the innate temperature of the system will change and cause malfunctioning. Position the camera in a way where its original temperature is not tampered with on most days. A shady place is the best to prevent it from getting both, overheated and frozen.
Switch the device off completely, then turn it on again. Sometimes, restarting is all the system needs to start functioning again properly.
Thus, incorrect installation, too much of light, poor internet connection or temperature imbalance could be a few reasons causing a problem in your Nest Hello night vision. Save this article for when your Nest night vision needs some fixing.